
Last updated November 2, 2026
Whole-system duct and dryer vent check with before-and-after photos - you see exactly what came out of your vents
That "$99 whole-house special" is a bait ad - the real number appears once they are in your hallway, or the "clean" is a shop-vac at the register. We photograph the inside of your ducts before and after instead.
Air Duct Cleaning Troubleshooting: Common Problems and How to Fix Them
If your home still smells musty two weeks after a duct cleaning, the technician likely cleaned the symptom and left the source untouched. And the most common sources aren’t in the ducts at all. In Palo Alto, where mid-century ranch homes sit alongside tightly sealed new construction, we’ve traced recurring complaints to a predictable set of failures: dirty evaporator coils, blocked return paths, flex duct that was never properly contacted, and filter housings that bypass air entirely. This guide walks through the diagnostic process we use on every service call, so you can spot what was missed, understand what actually needs to happen, and hold any contractor to a verifiable standard. You’ll learn how to distinguish a duct problem from an HVAC equipment problem, why odor persists after cleaning, what airflow restrictions look like at the register level, and when a HEPA negative-air approach is the only thing that will actually solve the problem.
Styles & brands we work with
- Whole-home duct cleaning
- Dryer vent cleaning
- Camera inspection
- Sanitizing & deodorizing
Quick Answer
Most cases where air duct cleaning “didn’t work” come down to one of five issues: the evaporator coil was never cleaned, the return side of the system was ignored, flex duct folds were not physically contacted, the filter housing bypasses air, or the cleaning itself left no verifiable paper trail. The fix is almost always diagnostic first: identify whether the problem lives in the ducts, the equipment, or the building envelope, then apply the right treatment rather than repeating the same cleaning. A second cleaning only makes sense when the first one provably failed to contact the duct surfaces.
Table of Contents
- Duct Problem vs. Equipment Problem: How to Tell the Difference
- Persistent Odor After Cleaning: The Coil and Flex Duct Reality
- Airflow Problems That Survive Duct Cleaning
- When a Second Cleaning is Warranted vs. Remediation-Grade Negative Pressure
- The Paper Trail That Proves a Cleaning Was Done Correctly
- Common Mistakes to Avoid
- When to Call a Professional
- Frequently Asked Questions
- The Bottom Line
Duct Problem vs. Equipment Problem: How to Tell the Difference
The first diagnostic fork in the road is whether the problem lives in the ductwork or in the HVAC equipment itself. Both present similarly: weak airflow, musty smell, dust accumulation on registers, allergy symptoms that spike at night. But the treatments are completely different. Cleaning ducts when the evaporator coil is fouled does nothing. Replacing a coil when the return ducts are collapsing doesn’t help either. In our experience working on Air Duct Cleaning in Palo Alto homes, we see this misdiagnosis constantly.
Here’s the practical way to tell them apart:
- Inspect the coil directly. If you can access the air handler, look at the evaporator coil. If it’s coated in a gray, fibrous mat or visible mold-like growth, that’s an equipment problem. Duct cleaning will not touch it. The coil needs professional cleaning with appropriate coil-safe chemistry and, if growth is present, antimicrobial treatment.
- Check the drain pan. A slimy, odorous drain pan under the coil points to a drainage or biological problem inside the equipment, not the ducts. The smell gets pulled into the airstream and distributed through perfectly clean ducts. The fix is pan cleaning, drain line clearing, and often a pan treatment tablet.
- Check the plenum. The plenum is the box that connects the air handler to the duct runs. If it’s lined with fiberglass insulation that has absorbed moisture and grown mold, that’s a plenum problem. Brush systems can clean the ducts all day long, but if the plenum is contaminated, the air picks up new odor and particulates the moment it leaves the equipment.
- Smell test by location. If the musty smell is strongest at the air handler closet or garage, it’s equipment-side. If it’s strongest at specific room registers, it’s duct-side. If it’s everywhere, you’re probably looking at a coil or plenum issue that’s distributing odor through the entire system.
The lesson we try to teach every homeowner: the ducts are just pipes. They don’t generate odor or biological growth on their own. They carry it. If cleaning the pipes doesn’t stop the contamination at the source, the problem will return on schedule.
Persistent Odor After Cleaning: The Coil and Flex Duct Reality
The single most common call we get after someone else’s cleaning is the odor call: “They cleaned the ducts, and two weeks later the smell is back.” In the majority of those cases, the smell never left because the source was never addressed. Here’s what’s actually happening.
The evaporator coil is the most common hidden source. It sits in a dark, damp environment, it’s coated in condensation for months of the year, and it catches every particle of dust and pollen that slips past the filter. Over time, that organic matter breaks down, combines with moisture, and creates exactly the kind of environment where bacteria and mold thrive. In Palo Alto’s climate, with its cool foggy mornings and warm afternoons, the condensation cycle is especially active. A coil that hasn’t been cleaned in five years is often the single largest reservoir of biological odor in the home. Duct cleaning never touches it.
Flex duct folds are the second overlooked source. Flex duct is the accordion-style ductwork used in most residential and light-commercial installations. Its interior is a spiral of folds and grooves. When organic dust settles into those folds and moisture gets introduced, biological growth can start. A basic brush cleaning that runs a spinning brush down the center of the duct may not compress the folds enough to make actual contact with the inner walls. The brush passes through, dislodges loose debris, and leaves the compacted, moisture-bound material in the folds untouched. What the homeowner sees is a “cleaned” system that still smells. What actually happened is that the tool never made contact with the surface where the problem lives.
This is why we run Rotobrush contact-cleaning systems rather than relying on vacuum-only or compressed-air methods. The brush physically contacts and agitates the interior surface of the duct, including the folds in flex duct, to dislodge the material that’s actually causing the odor. Then the negative-air containment system extracts it rather than blowing it back into the room. From cleaning to repair, the equipment choice determines whether the job actually solves the problem or just moves dust around.
Airflow Problems That Survive Duct Cleaning
Weak airflow after a duct cleaning is frustrating because the logic seems airtight: clean ducts should equal better airflow. But airflow problems often have nothing to do with debris inside the ducts. They’re almost always about restriction at a handful of specific points. Here’s what to check, in order:
- The filter. A clogged filter is the number one airflow killer in residential systems. If you’re using a high-MERV filter, replace it more frequently than the packaging suggests. A MERV 13 filter that’s been in place for three months can reduce airflow by 30% or more in a typical residential blower. If you’re installing Air Duct Cleaning Palo Alto home filtration products like Honeywell or Aprilaire media filters, check the pressure drop rating and replacement schedule.
- The return grilles. Returns are the intake side of the system. If they’re blocked by furniture, rugs, or accumulated dust and pet hair, the system starves for air. Every supply register in the house can be wide open, but if the returns can’t pull air in, the system can’t move air out. This is especially common in older Palo Alto homes where returns were designed for smaller systems.
- The filter housing itself. This is a big one. If the filter housing is cracked, poorly sealed, or the filter doesn’t fit snugly, air bypasses the filter entirely. The filter looks clean because air isn’t going through it. It’s going around it. The coil then gets coated in unfiltered air, which leads back to the odor and airflow problems described above.
- Collapsed or kinked flex duct. In crawlspaces and attics, flex duct can get crushed by workers, animals, or simply age. A duct that’s compressed to 50% of its diameter reduces airflow dramatically without any visible indication at the register. In our Air Duct Repair in Palo Alto work, we routinely find collapsed flex runs in older homes where the inner liner has separated from the insulation.
- Damper positions. Every supply duct should have a balancing damper. If a previous owner or contractor closed a damper and never reopened it, that room will always run weak. Dampers are usually accessible from the register boot or from the attic/crawlspace at the duct branch.
The key insight: airflow is a system-level property. It’s determined by the most restrictive point in the entire loop. Cleaning the ducts without checking the filter, returns, filter housing, and flex duct condition is like unclogging one pipe in a drain system and calling the whole thing fixed.
When a Second Cleaning is Warranted vs. Remediation-Grade Negative Pressure
Not every failed duct cleaning needs a redo. In fact, a second cleaning with the same equipment and the same process will produce the same result. The real question is whether the first cleaning actually made contact with the duct surfaces, and whether the airstream was properly contained.
A second cleaning is warranted when:
- The first cleaning used vacuum-only or compressed-air methods that cannot physically contact duct walls. If you suspect the brush never touched the surface, a contact-cleaning pass with a Rotobrush system makes sense.
- The first cleaning skipped the return side entirely. Returns carry the air that’s most loaded with particulates. Skipping them means half the system was never cleaned.
- The first cleaning did not use negative-air containment. Without a negative-air machine pulling the dislodged debris out of the living space, particles get stirred up and resettle on surfaces, making the home feel dustier than before the cleaning.
- You have photographic evidence that debris remains in accessible sections of duct after the first cleaning.
Remediation-grade treatment, not a redo, is warranted when:
- Biological growth is confirmed or strongly suspected on the coil, in the plenum, or inside flex duct folds. This requires more than agitation and vacuum. It requires a containment strategy, appropriate antimicrobial treatment, and possibly replacement of the affected flex runs.
- The contamination source is outside the ducts entirely: a wet crawlspace, a roof leak, a failed bathroom fan venting into the attic. In these cases, cleaning the ducts is rearranging deck chairs. The source has to be fixed first.
- There’s been a fire, flood, or major construction event in the home. Post-contamination remediation is a different animal than routine maintenance cleaning.
In our company, we run Nikro HEPA negative-air machines on every cleaning job. That’s not a premium add-on; it’s the baseline. The negative-air containment means the dislodged debris gets pulled out of the airstream and captured in HEPA filtration, not redistributed into the living space. It’s the same containment principle used in abatement and mold remediation work, applied to residential duct cleaning. If a previous cleaning didn’t include this, that’s a significant red flag about the thoroughness of the process.
The Paper Trail That Proves a Cleaning Was Done Correctly
Here’s the uncomfortable truth about the duct cleaning industry: it’s easy to run a vacuum, collect a check, and leave the homeowner with no way to verify anything happened. The absence of documentation is the biggest warning sign that a cleaning was superficial. Before you hire anyone, ask what they’ll provide as proof of work. If the answer is vague, move on.
What a professional cleaning should provide:
- Before and after photos of the duct interiors. Not just one photo of a clean register. Photos from inside the ducts, at multiple points along the runs, showing the condition before and after contact cleaning. This is the most direct evidence.
- Pressure readings. A static pressure reading before and after cleaning shows whether airflow resistance actually changed. If the numbers don’t move, the cleaning didn’t address the restriction.
- Vacuum CFM logs. The negative-air machine should be running at a documented CFM throughout the job. This proves the containment system was actually pulling air, not just sitting in the corner.
- Scope documentation. A list of every duct run cleaned, every return, every register, and the specific method used for each. If the return side isn’t listed, it wasn’t cleaned.
- Filter replacement record. A dated note showing the filter was checked and replaced or cleaned during the service.
We hear from Palo Alto homeowners regularly who paid for a cleaning and received nothing but a receipt. No photos, no pressure readings, no CFM documentation. That’s not a technicality. That’s the difference between a service that can prove its work and one that can’t. When you’re evaluating a cleaning, ask for the paper trail. If the company looks confused by the question, that’s your answer.
Common Mistakes to Avoid
- Hiring based on price alone. Cheap duct cleaning in the Bay Area almost always means a vacuum-only process without negative-air containment, no contact cleaning, and no documentation. You’re not saving money; you’re prepaying for a second cleaning.
- Thinking the ducts are the only thing that matters. The coil, drain pan, plenum, and filter housing all sit upstream of the ducts. If they’re contaminated, clean ducts just distribute dirty air more efficiently.
- Ignoring the return side. Some companies clean supply ducts and skip returns entirely because they’re harder to access. Returns carry the dirtiest air in the system. Skipping them is like washing half a car.
- Using high-MERV filters without checking static pressure. A MERV 16 filter on a residential blower can crush airflow. High-efficiency filtration is great if the system is designed for it. Most aren’t.
- Assuming a musty smell means the ducts are dirty. More often it means the coil is growing something, the drain pan is stagnant, or the crawlspace is wet. Cleaning the ducts treats a symptom that’s not even in the ducts.
- Not asking for documentation. If a cleaning doesn’t produce before/after photos, pressure readings, and CFM logs, there’s no way to verify anything happened. A receipt is not proof of work.
- Waiting until symptoms get bad. By the time air quality is noticeably bad, the contamination has been accumulating for years. Routine Dryer Vent Cleaning in Palo Alto and duct maintenance is far cheaper than remediation-grade treatment after the fact.
When to Call a Professional
Some problems can be diagnosed and addressed with a flashlight, a filter change, and a visual inspection. But there are clear lines where professional intervention is the right call. If you see visible mold growth on the coil or inside the ducts, that’s a health issue, not a maintenance task. If airflow remains weak after changing the filter and checking the returns, there’s a restriction somewhere that needs tools and training to locate. If you’ve had a water event, fire event, or major renovation, the contamination load is beyond what a routine cleaning can handle. If odor persists after a cleaning, the source needs to be tracked down, not re-cleaned blindly. Air Duct Cleaning Palo Alto offers free estimates in Palo Alto and the surrounding Peninsula communities. Call (833) 620-7085 and we’ll take a look with our own eyes before recommending anything.
Frequently Asked Questions
Professional air duct cleaning in Palo Alto typically ranges from $450 to $900 for a full system, depending on the number of vents, the number of furnaces, and the accessibility of the ductwork. That’s for contact cleaning with negative-air containment, not a vacuum-only service. Homes with two systems, crawlspace access challenges, or contamination requiring remediation-grade treatment will run higher. Call (833) 620-7085 for an exact quote on your system, and we’ll give you a fixed number before any work begins.
Because they’re selling a different service. A $99 or $199 “whole house” special almost always means a vacuum-only pass that doesn’t contact the duct walls, doesn’t include negative-air containment, doesn’t touch the returns, and doesn’t produce any documentation. The technician is in and out in under an hour, and the debris that matters never leaves the system. Professional-grade cleaning with Rotobrush contact systems and Nikro HEPA negative-air machines costs more because it actually does what it claims.
Your contractor should provide before and after photos from inside the ducts at multiple points, static pressure readings showing airflow improvement, vacuum CFM logs proving the containment system was running, and a scope of work listing every run cleaned. If you receive none of those, assume the cleaning was superficial and request documentation or a refund. Call (833) 620-7085 for a service that documents every step.
Every 3 to 5 years for most homes, more frequently if you have pets, recent construction, or household members with significant allergies. The 3 to 5 year window assumes the system was properly cleaned the first time. A superficial cleaning that doesn’t contact the surfaces means you’re starting from a dirty baseline. Homes with Honeywell or Aprilaire media filtration installed may stretch the interval because the upstream filtration keeps the coil and ducts cleaner longer.
You can vacuum the register covers and wipe the grilles, but that’s the extent of what’s practical and safe for a homeowner. The interior surfaces of the duct runs require contact tools that compress and agitate the walls, plus negative-air containment to prevent the dislodged material from spreading through the house. Without those, you’re moving dust from the ducts to your furniture and lungs. The equipment investment alone makes professional cleaning the more economical option.
First, check the filter housing for bypass. If the filter doesn’t seat snugly, air flows around it and the filter stays clean while the coil gets coated. Second, look at the evaporator coil itself. If it’s fouled, it’s distributing fine particulates every time the blower runs. Third, consider whether the return side of the system was ever cleaned. In our experience, a clean-looking filter and dirty returns is a classic sign of an incomplete cleaning. Call (833) 620-7085 for a full diagnostic look.
Cleaning removes accumulated dust, debris, and particulate accumulation from duct surfaces using contact tools and negative-air extraction. Remediation goes further: it addresses biological growth, moisture sources, and contamination events using containment protocols, antimicrobial treatment, and often replacement of affected materials. They’re different jobs with different scopes and different standards. A cleaning that’s marketed as remediation, or vice versa, is a red flag.
The Bottom Line
When a duct cleaning doesn’t solve the problem, the failure is almost never mechanical. It’s diagnostic. The wrong problem was treated, or the right problem was treated with the wrong tools. In Palo Alto, where homes range from 1950s Eichlers to 2020s custom builds, there’s no one-size-fits-all answer. What works is a systematic approach: identify whether the contamination lives in the ducts, the equipment, or the building envelope; use contact-cleaning and HEPA containment rather than vacuum-only shortcuts; check the filter housing, returns, and flex duct condition before declaring victory; and demand documentation that proves the work was done. Air Duct Cleaning Palo Alto provides free estimates for duct cleaning, Dryer Vent Cleaning in Palo Alto, and Air Duct Repair in Palo Alto. Call (833) 620-7085 to schedule a diagnostic walkthrough of your system.
Written by the team at Air Duct Cleaning Palo Alto, serving Palo Alto since 2016.
See the difference
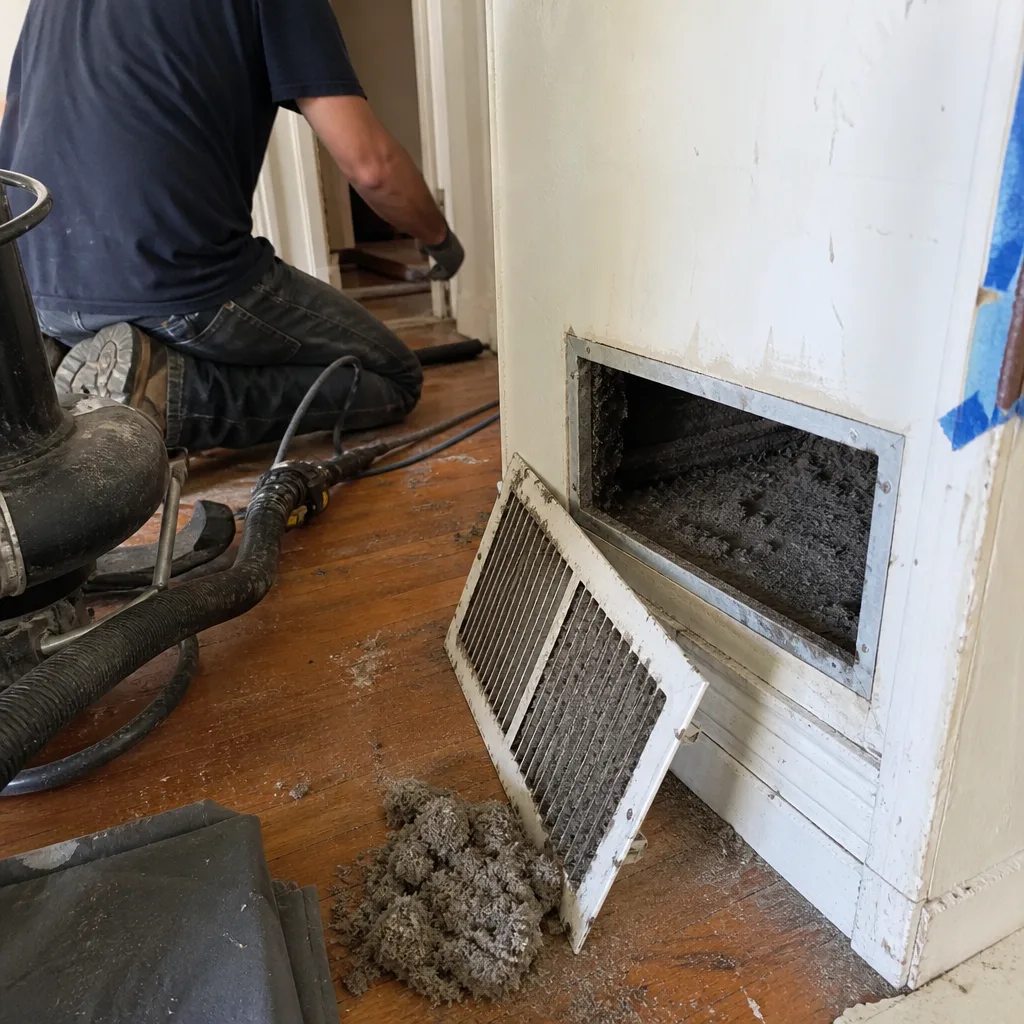 Before
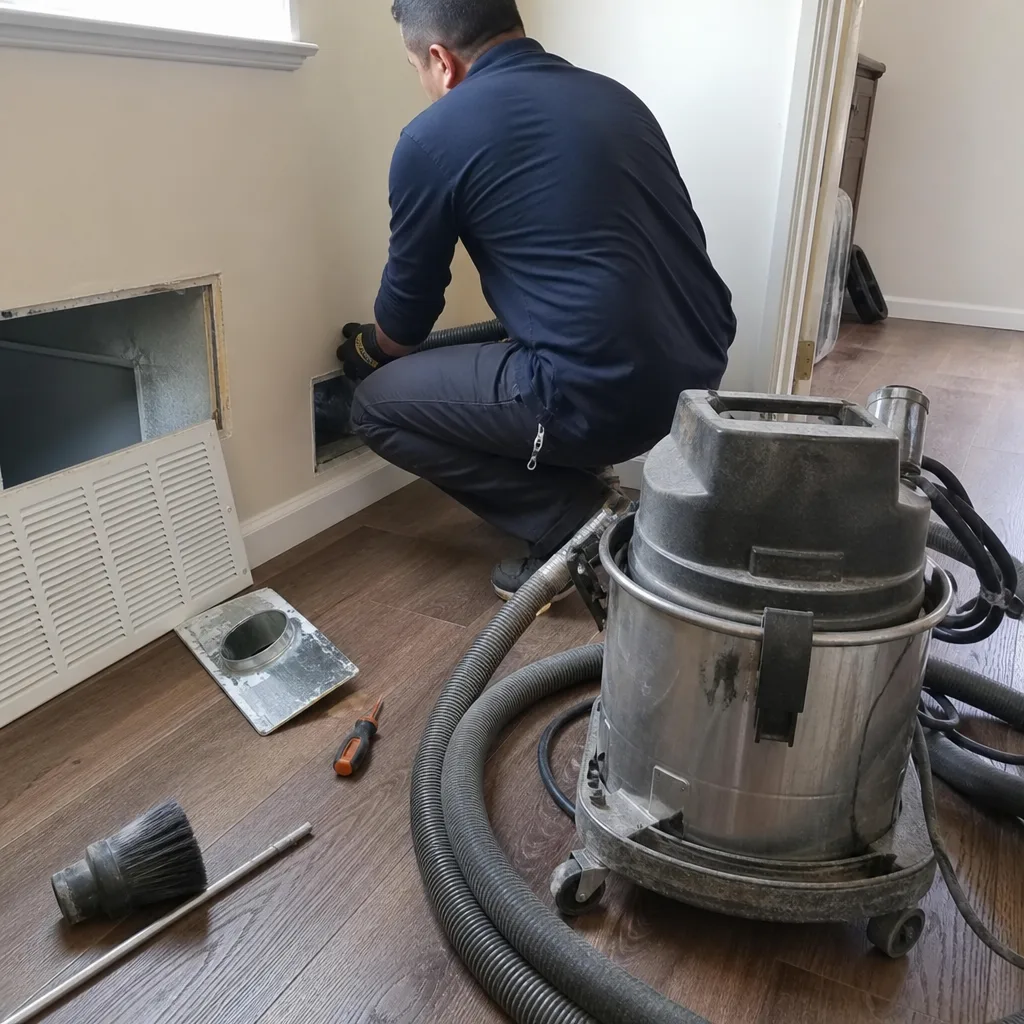 After
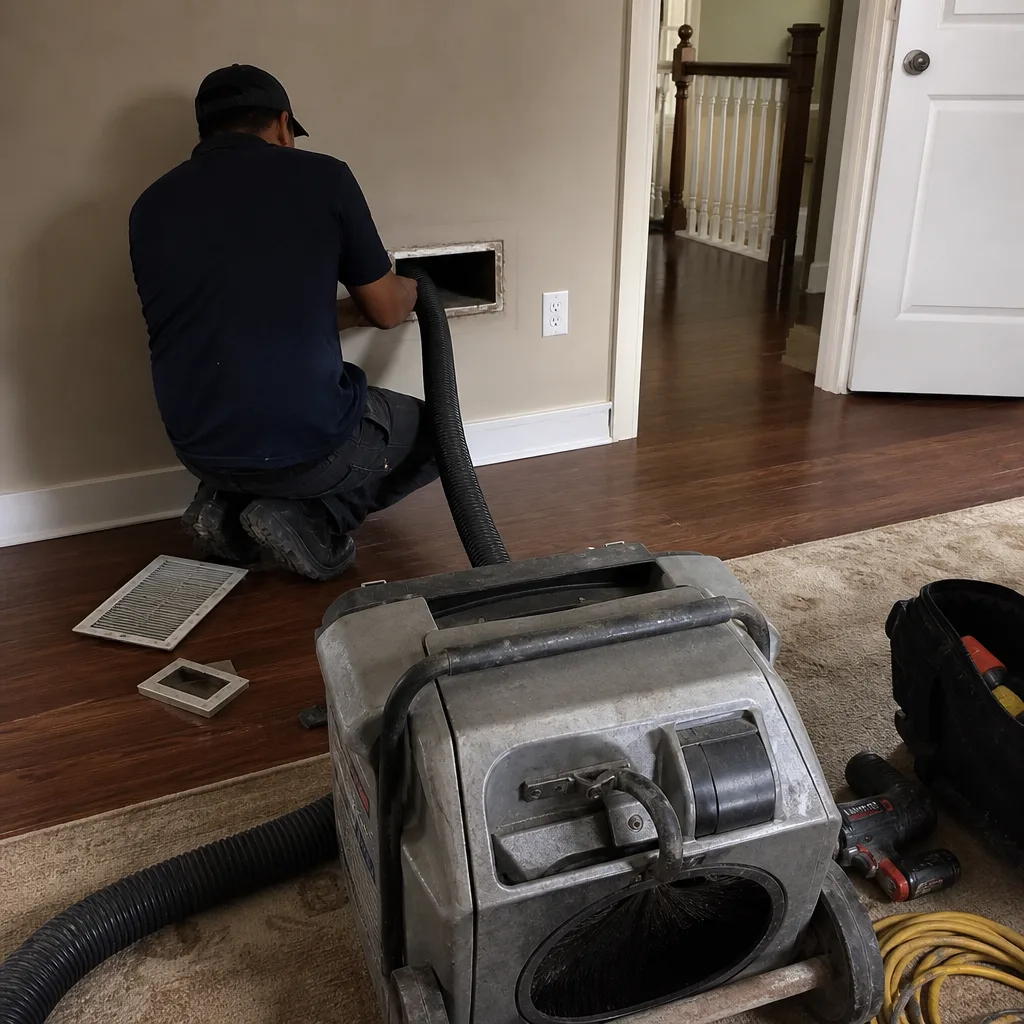 Before
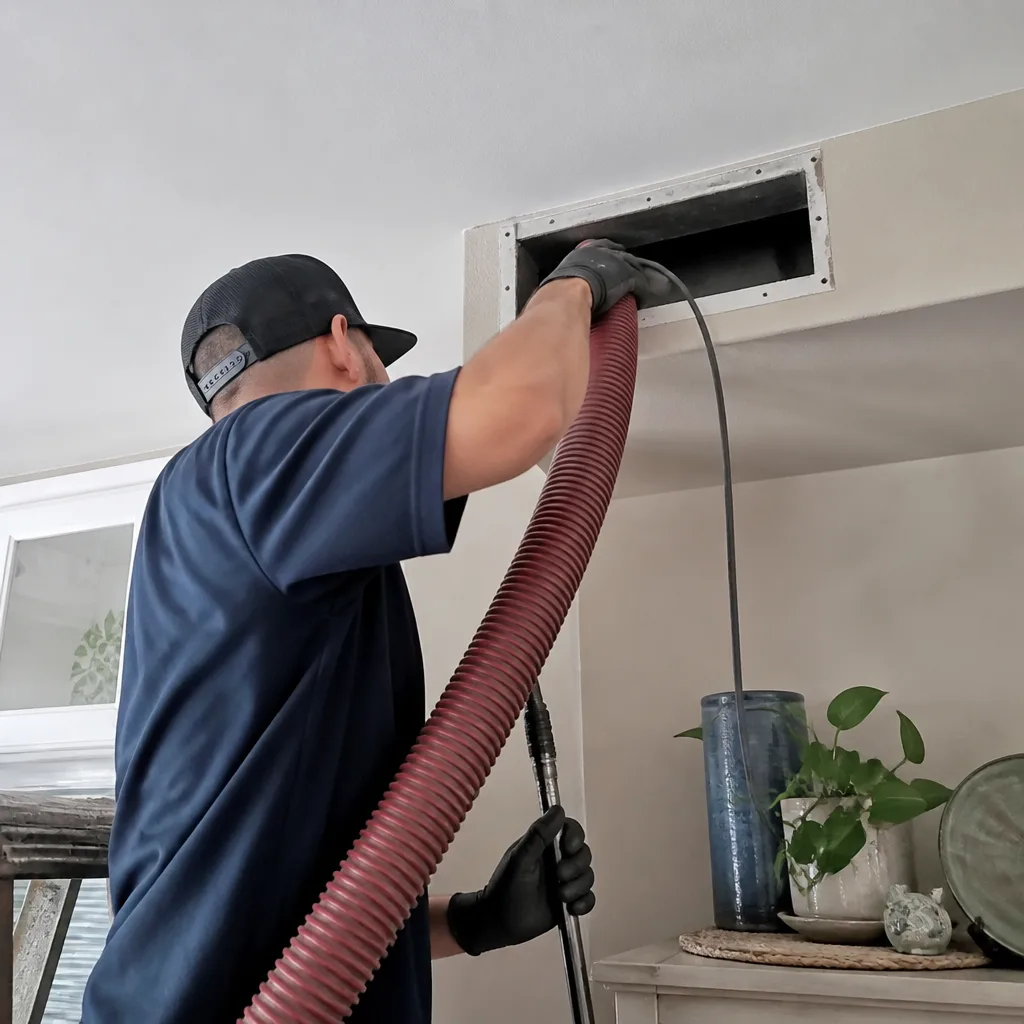 After
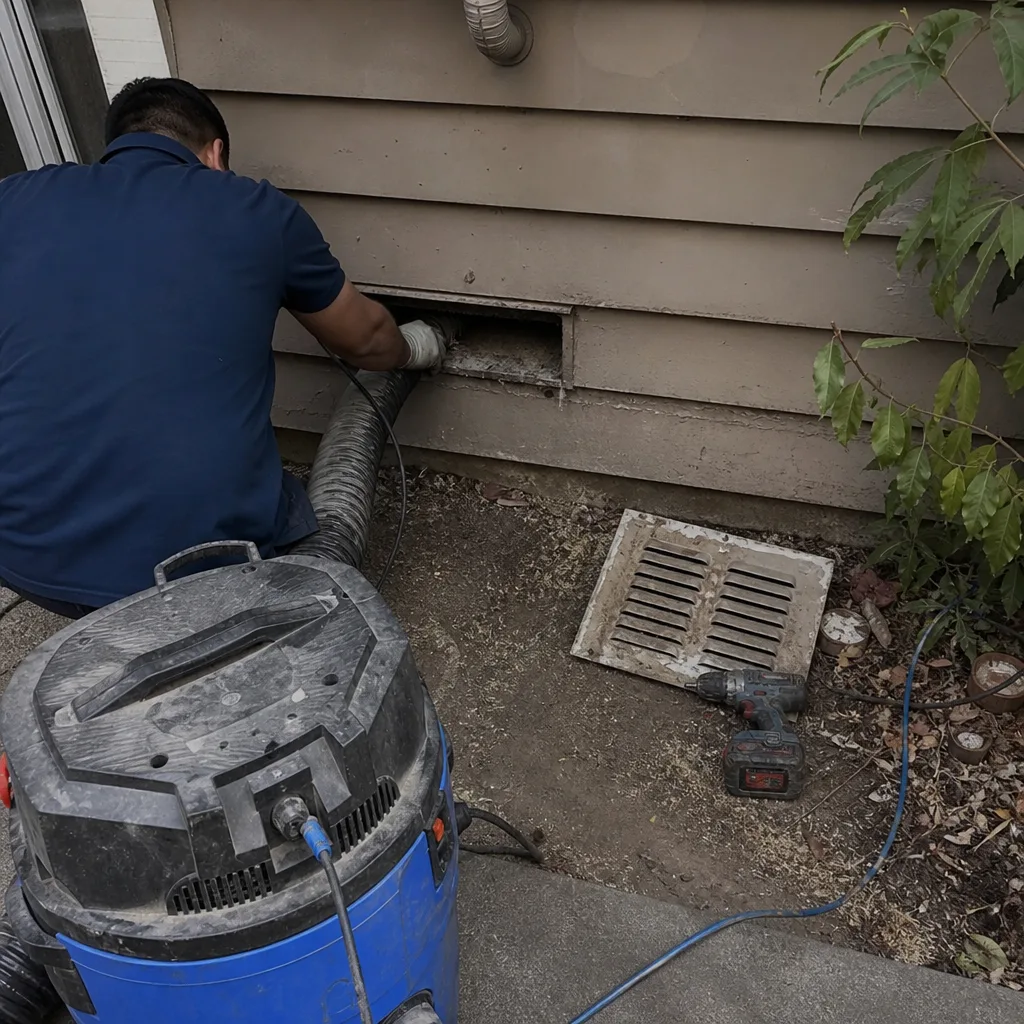 Before
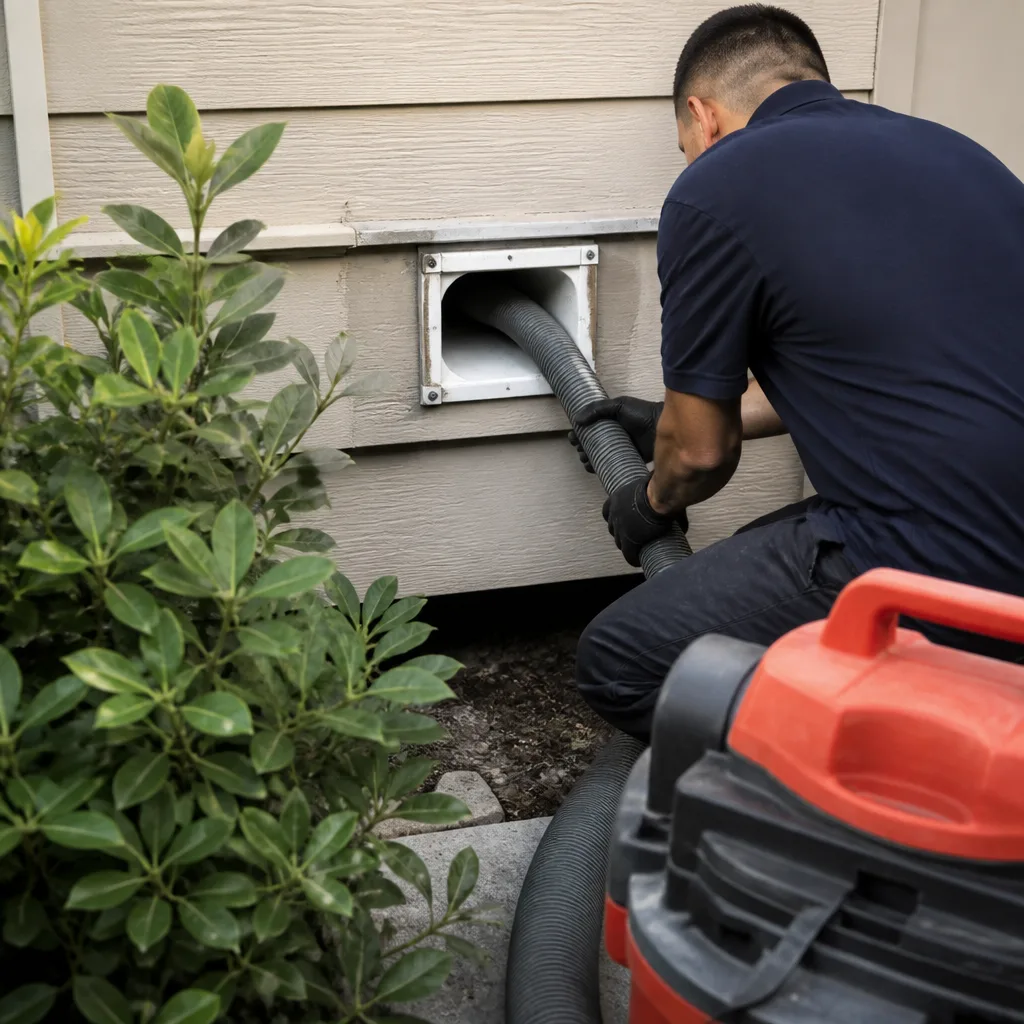 After