
Last updated November 2, 2026
Whole-system duct and dryer vent check with before-and-after photos - you see exactly what came out of your vents
That "$99 whole-house special" is a bait ad - the real number appears once they are in your hallway, or the "clean" is a shop-vac at the register. We photograph the inside of your ducts before and after instead.
Air Duct Cleaning Maintenance Checklist for Palo Alto Homeowners
The advice you’ve heard for years – “clean your ducts every 3 to 5 years” – has no engineering basis. None. The EPA’s own documentation states there is no universal recommended frequency for duct cleaning. What actually determines whether your ducts need attention is observable evidence inside your specific system, not a calendar. In Palo Alto, where homes range from 1950s ranchers in Midtown to recent builds in the hills above Foothill Expressway, that evidence varies enormously from house to house. This checklist is built around what you can see, smell, and document – the conditions that make cleaning urgent rather than merely scheduled.
Styles & brands we work with
- Whole-home duct cleaning
- Dryer vent cleaning
- Camera inspection
- Sanitizing & deodorizing
Quick Answer
Air duct cleaning in Palo Alto becomes necessary when visible debris accumulates at registers, when airflow drops noticeably in specific rooms, or when occupants experience unexplained respiratory irritation that improves away from home. Rather than following an arbitrary time interval, use this inspection checklist to identify the four or five specific conditions that signal your ductwork genuinely needs professional attention. Most Palo Alto homes benefit from a documented inspection twice yearly – once before cooling season and once after wildfire smoke events.
Table of Contents
- The Room-by-Room Register Inspection
- Documenting Filter Loading Rates Over Three Cycles
- Mapping Airflow Asymmetry Between Rooms
- Odor Mapping: What Different Smells Actually Mean
- Post-Wildfire Smoke Checklist for Palo Alto Homes
- What to Check After HVAC Service or Duct Modification
- Building a Maintenance Log a Contractor Can Actually Use
- Common Mistakes to Avoid
The Room-by-Room Register Inspection
Start with the registers – the metal grilles where conditioned air enters each room. You don’t need tools for this first pass. A flashlight helps, but your phone’s camera works too. The goal is to establish a baseline of what’s normal for your home so changes become obvious.
Work through every room in a consistent order. We recommend starting at the register furthest from the air handler and moving toward it. This matches the direction of airflow resistance, and it’s the sequence a professional uses when assessing a system.
Step-by-Step Register Inspection
- Remove the register cover. Most lift off or unscrew with a standard screwdriver. Set it aside.
- Photograph the opening. Use flash. Capture the interior walls of the duct as far back as the camera can reach.
- Look for three things: visible dust accumulation thicker than a light coating, debris that shouldn’t be there (drywall fragments, insulation fibers, pet hair clumps), and any dark staining that could indicate moisture exposure.
- Wipe the interior duct wall with a clean white cloth or paper towel, pressing firmly against the metal. If the cloth comes back with a dark, greasy residue rather than light dust, that’s compacted particulate – the kind of buildup that a brush-contact system is designed to remove.
- Replace the cover and move to the next register.
In Palo Alto, register debris patterns often reflect the home’s specific history. Homes in College Terrace or Professorville with original ductwork from the 1960s frequently show rust particles mixed with decades of accumulated dust. Newer construction in the Stanford Research Park area sometimes shows drywall dust and paint overspray from the original build – a sign the ducts were never cleaned after construction.
If you find debris in more than two registers, that’s a threshold worth acting on. One dusty register suggests local conditions. Three or more suggest systemic accumulation throughout the duct network. When we service air duct cleaning in Palo Alto, the homes with debris at every register are almost always the ones where occupants have been living with degraded air quality for years without realizing it.
Documenting Filter Loading Rates Over Three Cycles
Your HVAC filter tells a story if you pay attention to how quickly it loads. A filter that darkens significantly within 30 days is flagging something upstream – either a duct breach pulling in attic or crawlspace air, unusually high indoor particulate generation, or a filter that’s undersized for the system. This is one of the most underused diagnostic tools a homeowner has.
The method is simple but requires discipline:
- Install a fresh filter. Note the date and take a photograph of the clean filter in place.
- Photograph the filter every two weeks without removing it. Capture the same angle each time.
- Replace the filter at the manufacturer’s interval – usually 60 to 90 days for standard 1-inch filters, 6 to 12 months for media cabinets – and photograph the dirty filter against a white background before disposal.
- Repeat for three full cycles. Compare loading patterns.
What you’re looking for is rate of change, not absolute dirtiness. A filter that stays relatively clean for six weeks and then darkens rapidly may indicate a seasonal pollen surge – common in Palo Alto during spring when oak and grass pollens peak. But a filter that darkens uniformly and rapidly within days of installation, every time, is more likely pointing to a duct breach or a system pulling particulates from the attic or crawlspace.
We also see a pattern specific to Palo Alto: homes near Foothill Expressway or Page Mill Road often show gray-black filter loading from vehicle emissions and brake dust. Homes in the hills above Highway 280 show a different profile – finer, darker particulate that corresponds with wildfire smoke exposure. Knowing which pattern is normal for your location makes anomalies easier to spot.
When you call us for Air Duct Cleaning Palo Alto home service, bring this documentation. Three cycles of filter photos tell a contractor more about your system than any verbal description could.
Mapping Airflow Asymmetry Between Rooms
Airflow asymmetry is the symptom homeowners notice but rarely investigate. One bedroom stays warm in summer while the hallway is freezing. A home office feels stuffy by mid-afternoon. The bathroom mirror fogs and never quite clears.
The fastest way to map asymmetry is with a simple tissue test:
- Close all windows and exterior doors. Set the thermostat fan to ON, not AUTO. This runs the blower without heating or cooling, isolating airflow from temperature.
- Hold a single-ply tissue near each register in turn, about six inches away. The tissue should deflect noticeably. If it hangs limp, airflow is weak.
- Compare rooms on the same floor first. Then compare floors. Upper-floor registers typically run stronger in cooling mode; lower floors in heating mode.
- Note any register where airflow is dramatically weaker than its neighbors. That’s where to focus.
Weak airflow at a single register usually points to a disconnected or crushed flex duct, a damper left closed, or a register boot pulling air from an unconditioned space instead of the trunk line. Weak airflow at multiple registers suggests a larger obstruction – compacted debris in the main trunk, a collapsed section of duct, or an undersized return.
Palo Alto homes with older sheet-metal ductwork are particularly prone to pinhole leaks at the seams. Each leak bleeds conditioned air into the attic or crawlspace, reducing pressure at the registers. Homes that have been remodeled – and a significant percentage of Palo Alto homes have been at least partially remodeled – often have duct modifications where new and old sections don’t align properly.
Asymmetry matters beyond comfort. Pressure imbalances caused by obstructed or leaking ducts pull unconditioned air from wherever it can find entry. That air carries whatever is in that space: fiberglass particles from attic insulation, dust from crawlspaces, humidity from foundation areas. Airflow mapping is how you catch the problem before it becomes a health issue.
Odor Mapping: What Different Smells Actually Mean
Odor is the most reliable indicator of specific duct conditions, but only if you can distinguish between the different types. Most homeowners lump everything into “musty” and move on. The distinctions matter.
Start by mapping when and where the odor appears:
- Odor present only when the system first starts. This is often “dirty sock syndrome” – microbial growth on the coil that blooms when the coil warms or cools. It typically fades within a few minutes. It will return every cycle until the coil is cleaned.
- Odor present continuously while the system runs. This points to something inside the ductwork itself: accumulated dust that’s gone biological, pest activity, or a breach pulling in outside air.
- Odor stronger in specific rooms. If a bathroom or kitchen register smells worse than others, the source may be localized – moisture from a plumbing leak, food residue drawn into the return, or pest nesting in that particular branch line.
- Odor that appears only in heating mode. Burning-dust smell when the furnace first fires is normal and should clear within an hour. If it persists, you may be cooking accumulated debris on the heat exchanger – a situation that calls for professional inspection.
In Palo Alto’s Mediterranean climate, the seasonal cues are consistent. The first heating cycle of autumn is when accumulated summer dust burns off. The first cooling cycle of late spring is when coil condensation activates any microbial material that’s been dormant. Neither event is unusual. What’s worth documenting is whether the odor clears within the first cycle or persists – that’s the difference between normal operation and a system that needs attention.
If you can’t identify the odor source after mapping, that’s information too. A contractor who knows the odor is intermittent, seasonal, and stronger in certain rooms can target their inspection rather than cleaning blindly. The best diagnostic work happens before any equipment touches the ductwork.
Post-Wildfire Smoke Checklist for Palo Alto Homes
Palo Alto sits between two wildfire corridors: the Santa Cruz Mountains to the west and the Diablo Range to the east. When smoke settles over the Bay Area – as it did during the 2020 CZU Lightning Complex fires and repeatedly since – it doesn’t just stay outside. It enters the duct system through outside air intakes and gets distributed through every register in the house.
Wildfire smoke isn’t ordinary dust. It contains fine particulate matter (PM2.5) that penetrates deep into lung tissue, along with volatile organic compounds that can linger in ductwork long after the sky clears. If your system ran during a smoke event, even intermittently, the ducts need assessment.
Here’s the post-smoke-event checklist we recommend for Palo Alto homeowners:
- Replace your filter immediately after the smoke clears, even if it was recently changed. Smoke loading can saturate a filter in days, and a saturated filter re-releases particles under pressure.
- Inspect the filter you removed. If it’s gray-black rather than the usual tan, that’s smoke particulate. Photograph it for your maintenance log.
- Check the furnace cabinet and return plenum for soot staining, especially around filter edges where air bypasses the filter frame.
- Smell each register with the fan running. Wildfire smoke leaves a distinctive acrid note that’s different from must or dust. If you detect it at the registers, the smoke reached the ductwork, not just the filter.
- Wait two weeks, then inspect again. Smoke particulate settles slowly. A register that shows fresh gray-black dust two weeks after the event confirms the system needs professional cleaning.
HEPA-level containment is the standard here. We run Nikro HEPA negative-air machines during cleaning so the particulates we dislodge from duct walls don’t re-enter your living spaces. That’s not a luxury for wildfire remediation; it’s the difference between removing particulate and just moving it around. If you’re scheduling air duct cleaning in Palo Alto after a smoke event, ask specifically whether the contractor uses negative-air containment. Most residential operators don’t, and the difference matters when the contaminant is PM2.5.
What to Check After HVAC Service or Duct Modification
Here’s a truth most homeowners don’t hear: HVAC service work often introduces new contaminants into the duct system. A technician replaces a coil, moves a plenum, or reworks a run – and leaves behind sheet metal scraps, drywall dust, insulation fragments, or fastener hardware. It’s not negligence in most cases; it’s simply that cleaning up inside ductwork isn’t part of a standard service call.
After any HVAC service or duct modification, run this inspection within the first week:
- Remove and inspect registers in the rooms closest to where work was performed. Look for metal shavings, screw heads, drywall powder, or insulation fibers. These materials were knocked loose or introduced during the work.
- Check the air handler cabinet. Open the blower access panel (with the system powered off) and look for debris that may have been left in the return or blower area.
- Listen for new sounds. Rattles or clinks when the fan starts often mean a fastener or metal fragment is sitting in a duct line, moving with airflow.
- Run the system for a full cycle with a fresh filter installed, then check the filter for construction debris capture.
This is also the moment to address any Air Duct Repair in Palo Alto work that may have been needed but wasn’t performed. Many HVAC contractors will clean around damaged sections or push them aside to complete a job, leaving degraded ductwork in place. A duct cleaning company that also performs repairs can close that gap. If you’re seeing construction debris in your registers after service, the responsible sequence is debris removal first, then repair of any damage the service exposed.
Building a Maintenance Log a Contractor Can Actually Use
A maintenance log doesn’t need to be elaborate. It needs to be consistent, dated, and visual. The goal is to hand a contractor a record that tells them what your system has been through before they touch it. Here’s what to track:
- Filter changes: date, filter type and MERV rating, and a photo of the used filter against a white background.
- Register inspections: date, which registers inspected, what was found (or not found). Photos with flash.
- Odor events: date, time, system mode (heat/cool/fan), rooms affected, description of the smell, how long it lasted.
- Service events: date, company, work performed, and whether debris was found afterward.
- Smoke events: dates of any wildfire smoke in the Palo Alto area, whether the system ran during the event, and any post-event findings.
Store this as a simple folder on your phone – photos plus a note file. When a contractor arrives, you can show them exactly what you’ve observed. It saves diagnostic time and gives the contractor a baseline against which to measure their own findings.
In our experience, the difference between a successful cleaning and a frustrating one often comes down to information. A homeowner who can say “the filter loaded black in March and the bedroom register has been weak since December” gives us a map. A homeowner who says “I guess it’s just dusty” gives us a starting point. Both are workable. One is faster.
Common Mistakes to Avoid
- Cleaning on a schedule instead of evidence. The EPA states no universal cleaning frequency exists. If your inspection turns up clean registers, stable filter loading, and consistent airflow, you don’t need cleaning – regardless of how many years have passed since the last one.
- Ignoring a single weak register. Many Palo Alto homeowners adapt to one stuffy bedroom or a warm hallway and treat it as a quirk of the house. It’s usually a disconnected or obstructed duct – a mechanical problem that won’t improve on its own and often worsens as debris accumulates at the restriction point.
- Using high-MERV filters as a substitute for duct cleaning. A restrictive filter on a system not designed for it reduces airflow, increases static pressure, and can shorten equipment life. It catches more particles at the filter but doesn’t address what’s already in the ducts.
- Cleaning ducts before fixing the source of contamination. If a return leak is pulling attic air into the system, cleaning is a temporary fix. The ducts will re-contaminate within months. Source repair must precede or accompany cleaning.
- Failing to check for post-service debris. Construction debris left in ductwork after HVAC repairs is common. If nobody looks, it stays there – sometimes for years, degrading air quality and adding noise to the system.
- Treating wildfire smoke as an outdoor issue only. In Palo Alto, smoke events are frequent enough that ducts in many homes contain layered particulate from multiple fire seasons. Post-smoke inspection should be as routine as changing smoke detector batteries.
- Hiring a cleaner who can’t also repair. If the cleaning reveals damaged ductwork, a cleaning-only contractor has to stop and refer out. The job stalls, the homeowner pays twice for mobilization, and the damage often gets postponed indefinitely. Choose a provider who does both.
When to Call a Professional
Call a professional when your inspection finds debris at three or more registers, when filter loading is rapid and consistent across multiple cycles, when airflow is weak at one or more registers without an obvious damper explanation, or when post-wildfire smoke residue persists beyond two weeks. Also call if you’ve had HVAC service work done and find construction debris in the ducts, or if odors persist after you’ve ruled out simple causes like a dirty filter or a full vacuum bag. Air Duct Cleaning Palo Alto offers free estimates in Palo Alto – call (833) 620-7085 to schedule an assessment. We bring Rotobrush brush-contact cleaning systems and Nikro HEPA negative-air equipment, and we can assess both cleaning needs and Air Duct Repair in Palo Alto requirements in a single visit.
Frequently Asked Questions
There is no universal schedule recommended by the EPA. Cleaning frequency depends on observable conditions: visible debris at registers, rapid filter loading, airflow weakness, persistent odors, or post-construction contamination. In Palo Alto, we also factor wildfire smoke exposure into the equation. Most homes we assess fall into a 3 to 7 year cleaning cycle, but some need attention more frequently and others can go longer. Inspection determines the timeline, not calendar years. Call (833) 620-7085 for a free estimate if your inspection findings suggest it’s time.
It depends entirely on what’s in your ducts. If inspection shows compacted debris, construction residue, or smoke particulate, professional cleaning with brush-contact equipment removes material that a filter cannot. If your registers are clean, your filters load normally, and airflow is balanced, cleaning would offer limited benefit. The inspection checklist in this guide is designed to help you determine whether cleaning is justified before you spend money on it.
You can clean register covers and the first few inches of accessible duct interior, but you cannot clean the full duct network without professional equipment. Consumer vacuums lack the reach and agitation capability to dislodge compacted debris from duct walls. Brush-contact systems like Rotobrush use powered agitation to break material free, and HEPA negative-air machines contain what’s dislodged. Without containment, DIY attempts usually move debris around rather than remove it.
Price differences usually reflect equipment and scope. A company running a consumer-grade vacuum from the register is doing a surface-level job: whatever the vacuum can reach, which is typically less than 10 percent of the duct network. Companies using brush-contact systems with negative-air containment are dislodging and extracting material from the full length of each duct run. The price difference is equipment cost, time on site, and thoroughness. Ask what equipment will be used before comparing quotes. If the answer is vague, that’s your answer.
A legitimate contractor will show you before-and-after photographs of your duct interiors, ideally with camera footage from inside the ductwork before and after the work. You can also request to see the debris captured by the negative-air machine or extraction system. If a contractor cannot provide visual documentation, you have no way to verify the work. We photograph interior duct conditions as standard practice on every job.
Yes. Wildfire smoke contains fine particulates that enter through outside air intakes and circulate through the entire duct system whenever the fan runs. The particulates settle on duct walls and re-enter living spaces over time as airflow disturbs them. After any significant smoke event affecting Palo Alto, inspect your filter for unusual gray-black discoloration and check registers for fresh particulate deposits. If present, professional cleaning with HEPA containment is the appropriate response. For Dryer Vent Cleaning in Palo Alto – a separate but related fire-safety service – schedule an annual inspection regardless of smoke events.
The Bottom Line
A duct cleaning maintenance checklist works when it’s built on observation, not calendar intervals. Inspect your registers twice yearly, document filter loading across three cycles, map airflow differences between rooms, learn what specific odors indicate, and run a focused checklist after wildfire smoke events and HVAC service work. Log everything visually. When your documentation shows debris, imbalance, or persistent contamination, that’s the signal to call a professional – not before. Air Duct Cleaning Palo Alto works with Rotobrush contact-cleaning systems and Nikro HEPA negative-air machines, and we also handle duct repair and dryer vent service, so you’re not handed off to someone else when the inspection reveals more than cleaning. Call (833) 620-7085 for a free estimate.
Written by the team at Air Duct Cleaning Palo Alto, serving Palo Alto since 2016.
See the difference
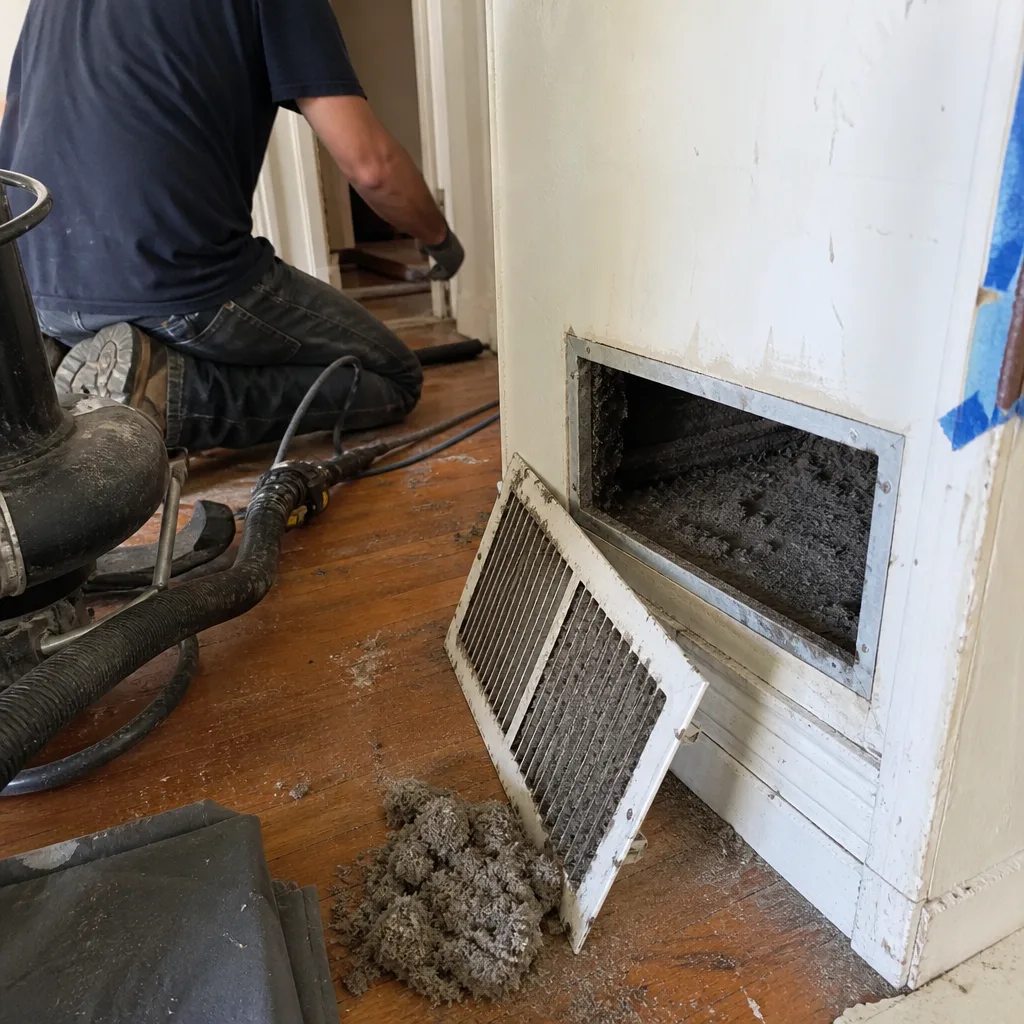 Before
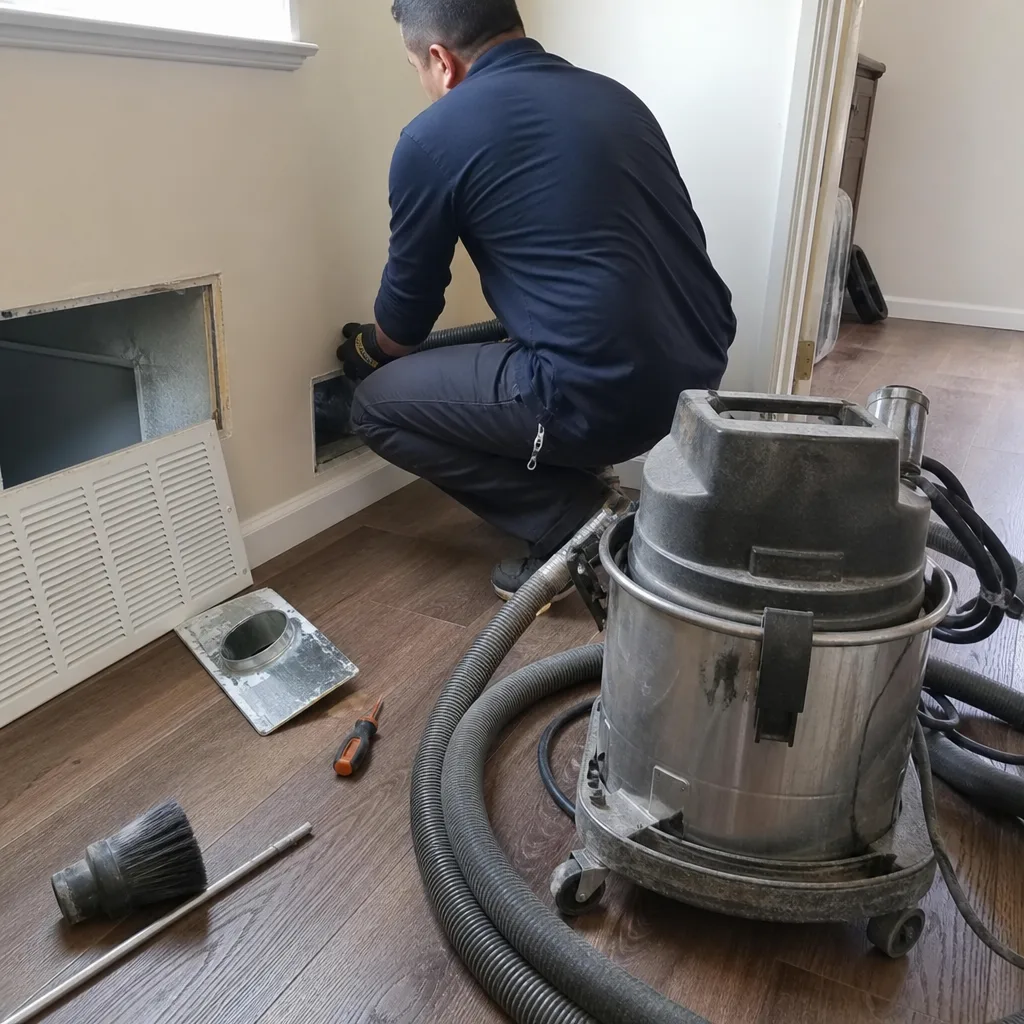 After
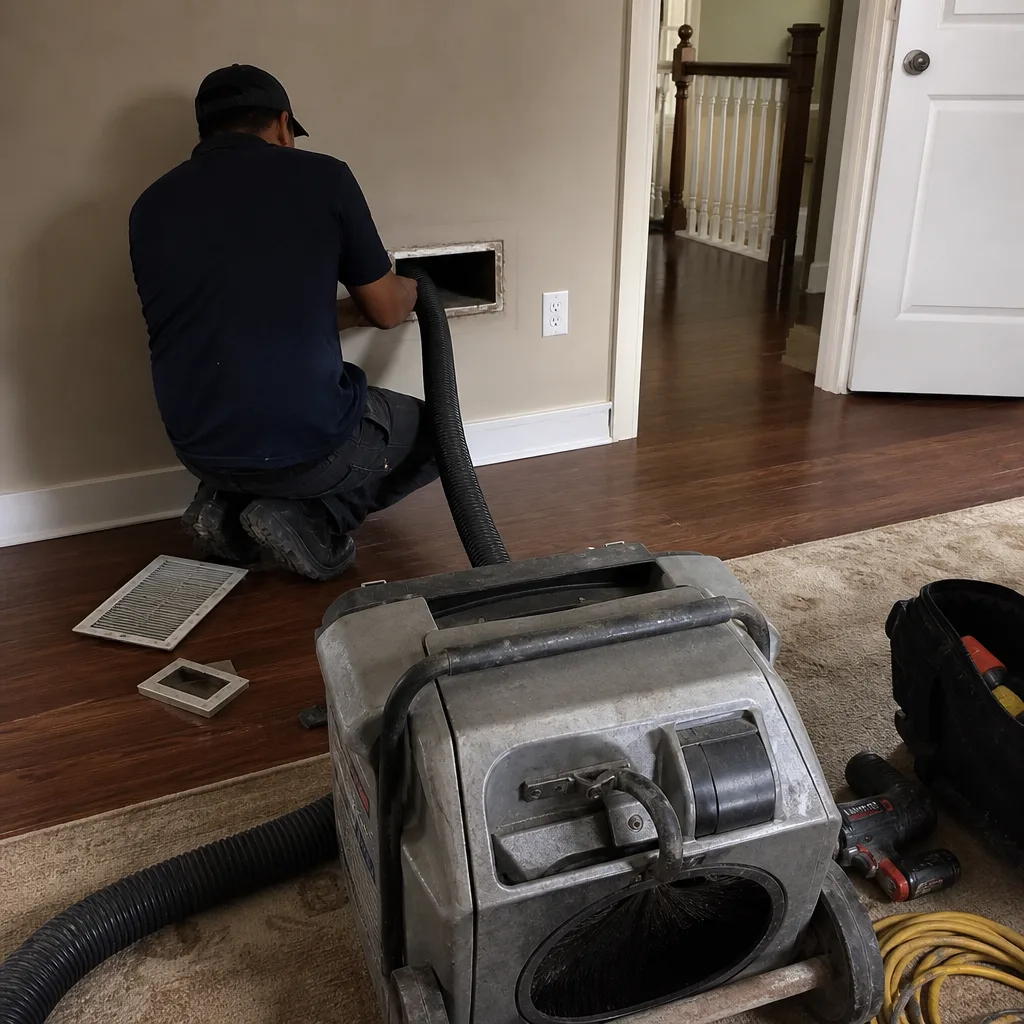 Before
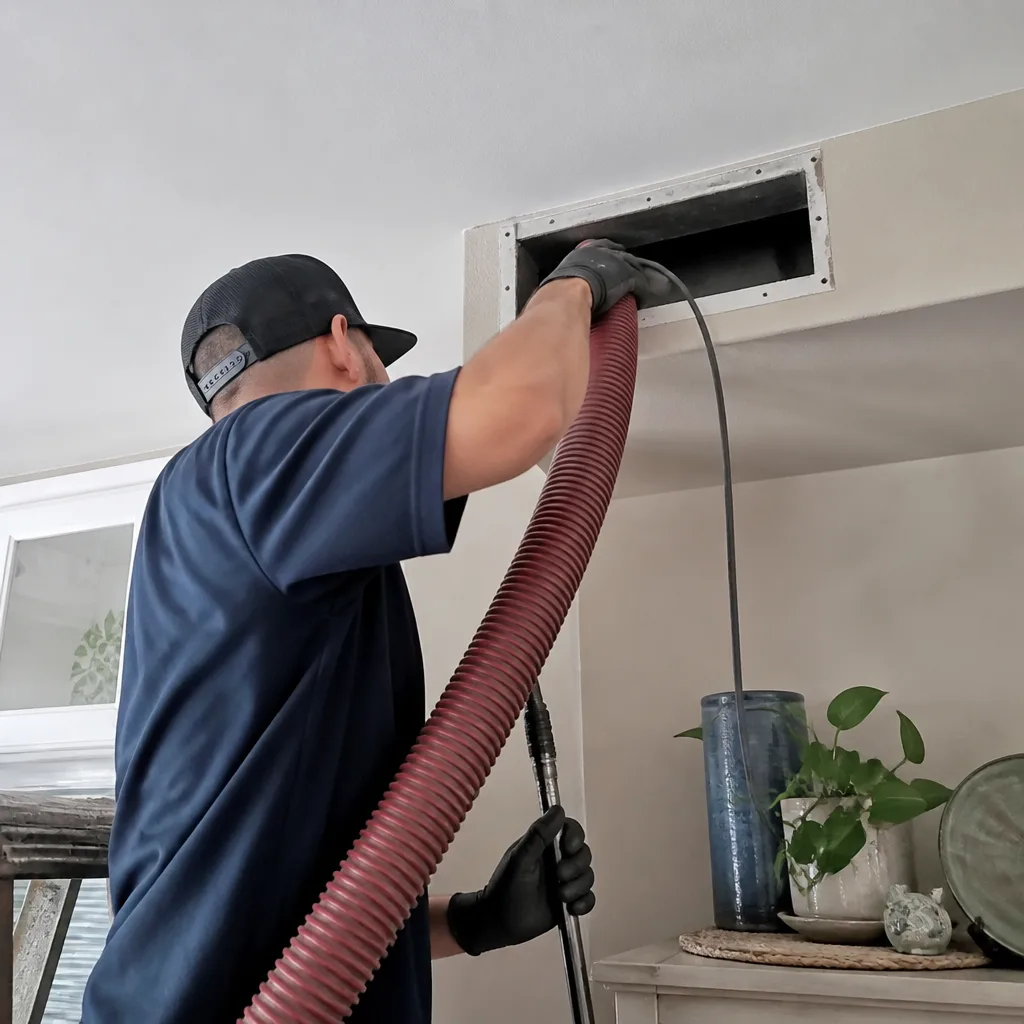 After
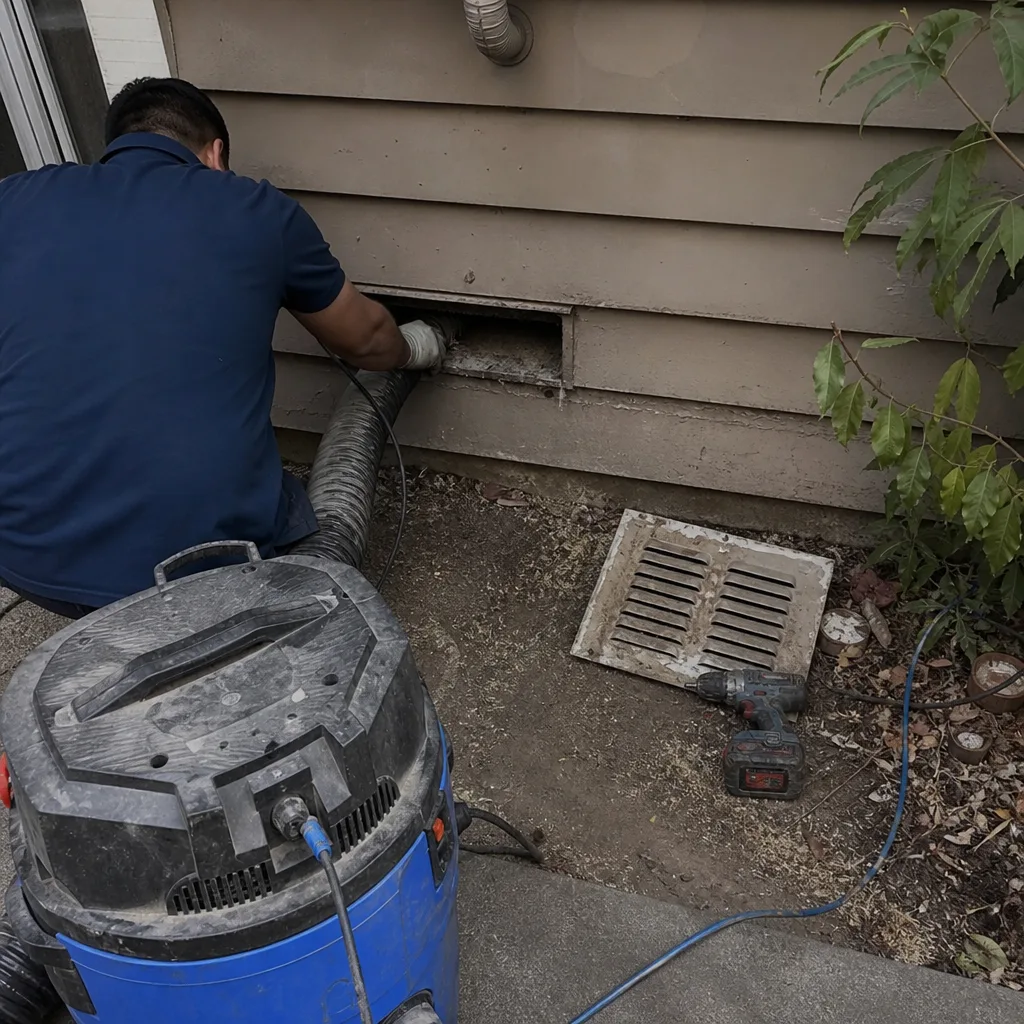 Before
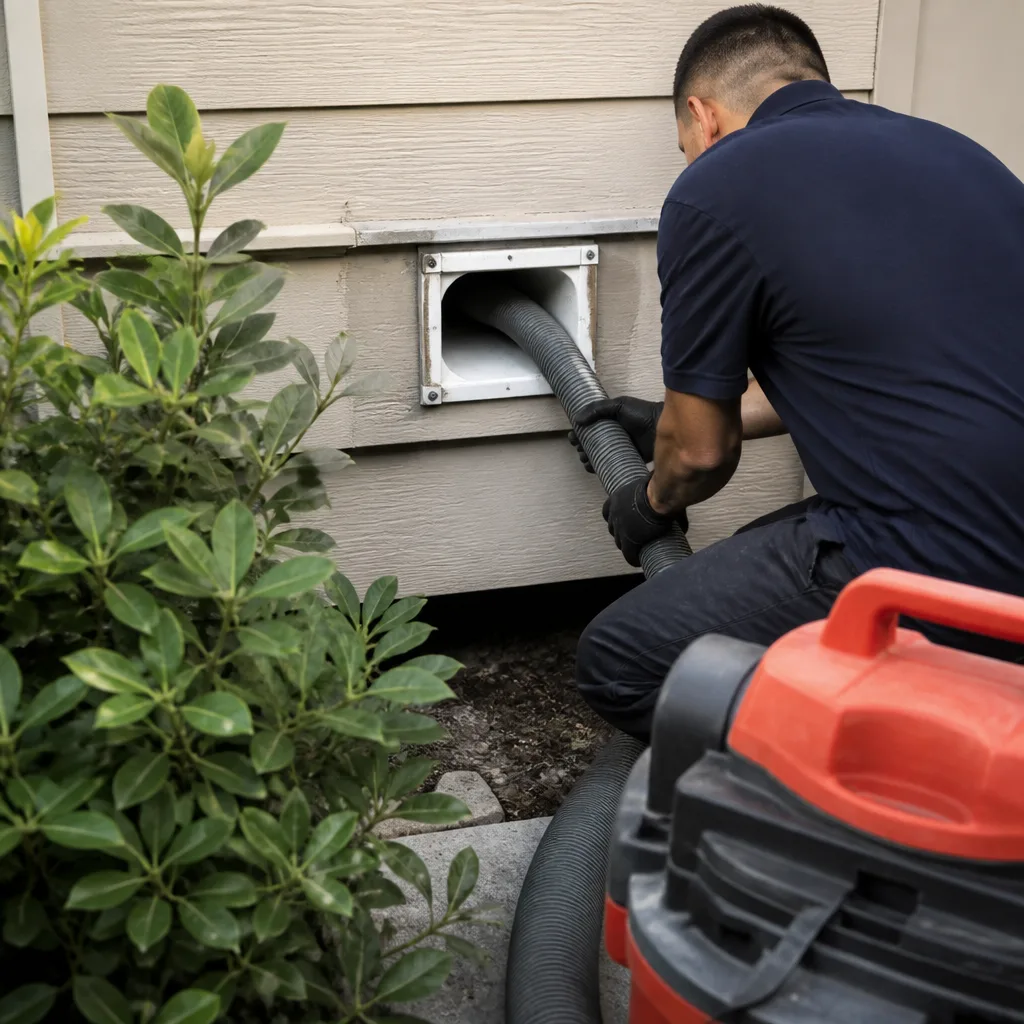 After